Roo Code Setup Tutorial
This tutorial will guide you through adding your CheapTokenRouter API key to the Roo Code extension in VSCode.
Prerequisites
Before you begin, make sure you have:
- A CheapTokenRouter API key
- VSCode installed
- Roo Code extension installed in VSCode
Step 1: Get Your CheapTokenRouter API Key
- Navigate to your CheapTokenRouter dashboard
- Goto the API Keys module [https://cheaptokenrouter.com/dashboard/keys]
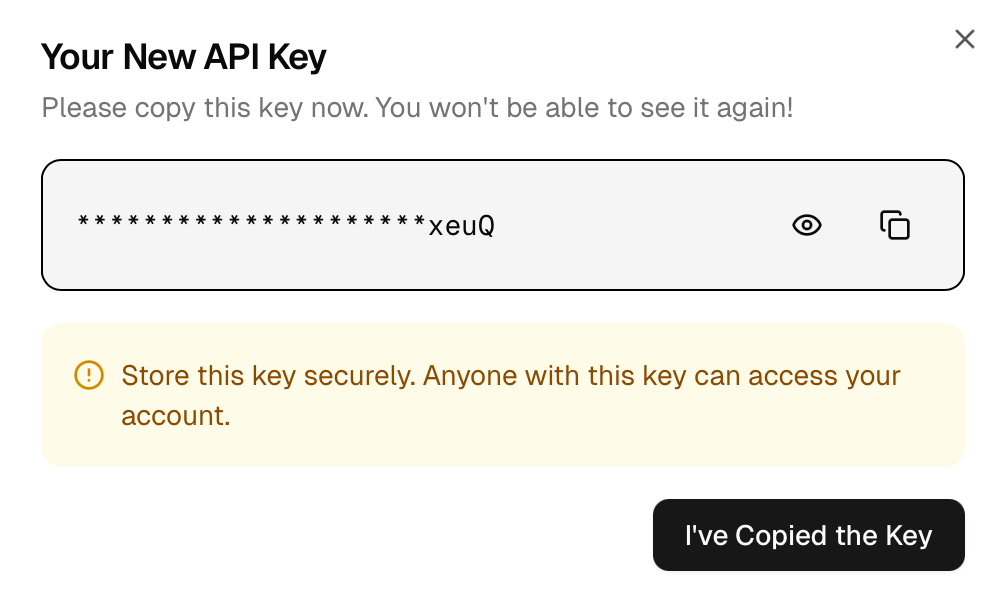
- Click Create Key and give it a nickname / alias memorable to you
- Copy down this API key and store it securely until you need to use it
Step 2: Install Roo Code (if necessary)
- Open VSCode
- Goto Extension, search for Roo Code and install it if you haven't already
- Click on the kangaroo Roo Code icon once installed
Step 3: Go To Roo Code Settings / Providers

- In the icon list at the top right, click on the Gear for Settings
- You should be in the Providers Tab by default. If not, click on it before proceeding further
Step 4: Add Your Chosen Model
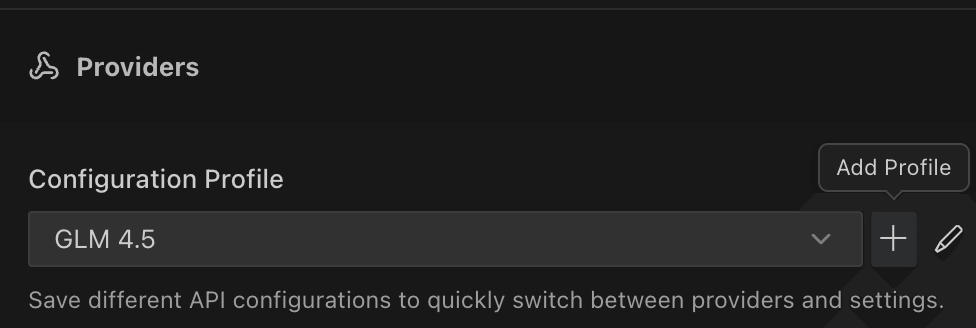
- Under Configuration Profile, click the + icon and enter a profile name for the model you want to save and use. In the example above, we choose GLM 4.5
- Select the API Provider type as OpenAI Compatible
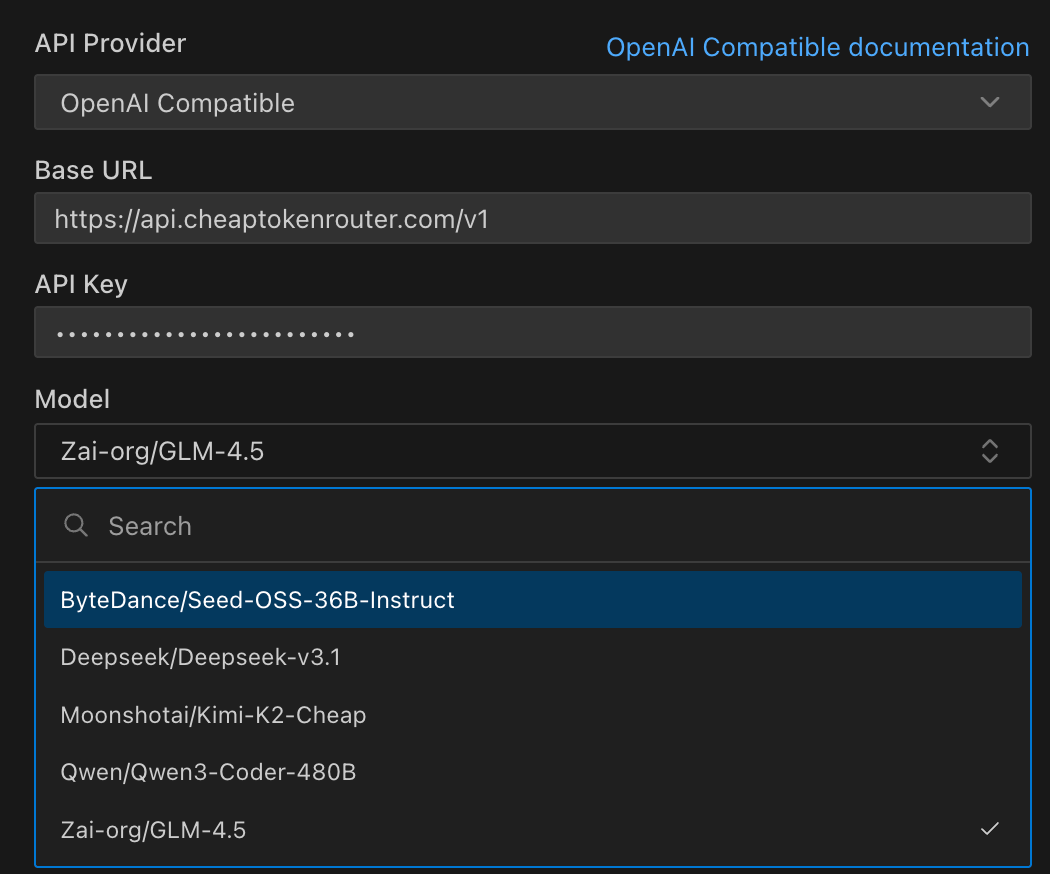
- For the Base URL, use the following URL:
https://api.cheaptokenrouter.com/v1
- Enter in your API Key from Step 1 in the API Key input section
- Select the model you set the profile in the Model Drop down
Step 5: Configure Your Model

- We recommend clicking Enable streaming and Include max output tokens.
- For the Context Window Size, it should be pre-filled in with the amount that's in the Model card on the website. If not, feel free to input it or override.
- Make sure you put in the Input Price and Output Price that corresponds to the pricing on the CheapTokenRouter model page so Roo Code can accurately track your costs.
- If you want the model to operate at a specific temperature, click on Advanced settings and then check the "Use custom temperature" checkbox and enter the temperature that you like. By default, we try to tweak each model's temperature to be good for coding out of the box so you don't need to do this step, but it varies by model and what you're trying to build.
- Click the blue Save button at the top to save all this info
Step 6: Assign Models For Each Mode
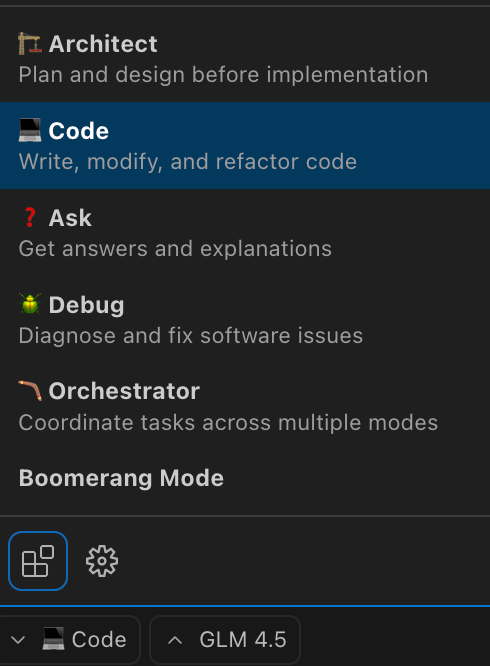
- You will want to pair each model with the appropriate type of task for it. In the example given, GLM 4.5 is actually quite good for every type of mode, so we set Orchestrator, Ask, Architect, Debug, and Code all to GLM 4.5.
- Click on the bottom left mode, select Architect, then set GLM 4.5 to it if you want it to be the default model for this mode. Repeat for all the other modes.
- If you want to mix in smarter closed source models for thinking and planning, we've found that using GPT-5 with thinking set to High is good for Architect mode. The strength of Roo Code is being able to select a specific model from any provider for any specific phase of your coding agent.
Troubleshooting
API Key Not Working
- Double-check that you copied the entire API key
- Ensure your API key is still active in your CheapTokenRouter account
- Try regenerating your API key if needed